Exercise Set 1: Observational Drawing
Observational drawing is arguably the most important skill you will develop, as everything else you will do in scientific illustration will build on top of it. Even if you already have great drawing skills, observational drawing is something you should continue practicing for the rest of your career.
When drawing objects in your home, always use a single source of directional lighting. A goose-neck desk lamp works great for this. If you are right-handed, place the lamp on your left so that the shadow of your hand does not obscure your view of pencil touching paper. If you are left-handed, do the opposite.
These exercises are designed to step you through increasingly challenging subject matter. You don’t need to complete them all, but do consider it, as they build on one another. You are only using graphite pencils for these drawings - actual pencils are preferable to mechanical pencils because they will help you shade more efficiently and evenly.
Materials
At the end of the day, what constitutes the 'best materials' is always going to depend on the preferences of the artist. I try to give you guidelines and brands that I like, but that doesn't mean that other brands aren't good! You might find you don't like any of the materials that I do - that's okay! The important thing is to experiment until you find the things you like using. Spend as little money as possible while still buying quality materials at first - test things out and then buy more once you find the things you like.
9"x12" or 11"x14" Drawing Pad. Always, always invest in good paper - this can't be stressed enough. If your paper is inferior in quality you will struggle to get the results you want, leading you to blame yourself and become frustrated. For graphite drawing you should be using a decently heavy paper with some tooth (texture), but not too much. 70lb is as low as you should go - I tend to like something closer to 90-100lb. I suggest buying a pad that allows you to cleanly tear sheets out. Although it's tempting to buy a bound sketchbook so all your drawings stay in one place, you will eventually need to scan the pages, which is much easier if you take the pages out. My favorite drawing pad is probably Borden & Riley #116, but Strathmore 400 Series Drawing Paper and Canson Artist Series are also good. A few papers I haven't used, but come from brands I trust are Fabriano, Stonehenge, Pentalic, and Arches.
If you're in the art store and you're just trying to choose a pad: look for a 9"x12" or 11"x14" pad of 'drawing' or 'sketching' paper meant for graphite (it should specify on the front of the pad), 70-120lbs, a little bit of texture but not too rough (often described as 'vellum', 'toothed', or 'medium-texture'; avoid anything that says 'smooth' or paper that's specifically made for pen or marker).
**One note about paper size: if your scanner bed is 8.5"x11", then it might be best to choose an 8"x10" paper that will fit nicely in the scanner bed. 8"x10" is smaller than I would like, but it will save you a lot of headaches down the road. This is only an important consideration because you know you will be reproducing these drawings for your application portfolio. Normally, the size of the scanner shouldn't dictate what size you work at.Graphite Pencils (3-6). Try to use a dark (8B or 6B), a medium (2B), and a light (2H) at minimum. A good full set is 8B, 4B, 2B, B, 2H, 4H. You might find a mechanical pencil useful for outlining and adding details at the end, but it's not required. Any artist grade graphite pencils should be good - Staedtler Mars Lumograph, Derwent Graphic Pencils, Caran d'Ache Grafwood Pencils, and Faber Castell 9000 (or Goldfaber Sketching Pencils for a more affordable student-grade) are tried-and-true favorites. It is okay to mix graphite pencil brands, although you might find some work better together than others (usually you will experience a bit of resistance when layering, but this can happen between soft and hard leads of the same brand too). For mechanical pencils, I tend to like one each of 0.5 mm and 0.3 mm lead. I usually use a HB lead in the 0.5 mm and a H in the 0.3 mm. I love Pentel Graph Gear 500 drafting pencils, but they are a bit of an investment. I always use Pentel Super Hi-Polymer Lead refills.
Pencil sharpener or a small utility knife. Pencil sharpeners are really a matter of personal preference. A small, handheld pencil sharpener will be the most portable, but you may need to carry a container for shavings (or make sure there's a trashcan nearby). I would suggest investing in a metal sharpener, like Mobius and Rupert Brass sharpeners, which will last longer than a plastic one. Some people prefer electric pencil sharpeners for their convenience - these will take up more space in your bag and require batteries or an outlet if you plan on drawing outside your home.
I personally like to sharpen my pencils with my utility knife. This allows me to get a longer point, which is useful for shading. They also keep their point longer. If you're curious about sharpening your pencils in this way, read this article.Erasers. A kneaded eraser is a must, as it will help you control your values. You might also want a large white eraser to erase big areas and a small precision eraser. My favorites are: Faber Castell kneaded eraser (hands down, the best kneaded eraser in my opinion - it's the only one that isn't too stiff and it comes in its own case), tombow mono eraser (I like the round one), and General's triangular eraser (any big, white eraser should do though - avoid pink erasers).
Goose-neck (or otherwise adjustable) lamp. You generally want to light your subjects from above, so it should stand about a foot off the surface of the table. Read more about proper set up in this article.
Before You Get Started
A few rules of the road...
When you can, control the drawing conditions:
- Use a desk lamp for lighting
- Use a “privacy booth” to block out busy backgrounds
- Try to minimize room lighting on your subjectAlways start your drawings from life
- Always look at your subject from the same angle
- Only use photos to finish a drawing you've already started, and only if it can't be helpedRead all the exercise directions before getting started
- Gather everything you need before you start drawing
- You do not need to finish every step in one sitting
- Always begin with a warm-up exercise
Observational Drawing Exercises
You are using the same basic approach in all of these exercises. See this article for a step-by-step example.
Boxes (1-2 hours)
Collect an assortment of boxes and/or other packaging from around your house. The plainer the surface the better, so small shipping boxes are best. Tape flaps down if they don’t stay closed on their own.
a) Warm-up exercise: sketch the objects quickly, using simple 3D shapes to describe them. Move them around a draw them from different angles. Fill the whole page.
b) Start with a single box, lit from the upper left (or right, if you are left-handed). Make sure you can see the shadow on the surface of your work table and 3 different planes of your box. Draw the box, starting with simple shapes. Make sure you nail the outline, using measurements to check proportions. Add shading next. Only add details once the box is fully shaded. Make sure you are including the surface of the table, with the cast shadow. If you want a challenge, try opening the flaps of the box and drawing the interior.
c) If you have and cylindrical or round objects, now if the time to give one of those a try. Balls, cylindrical tea tins, and bowls are great. Try drawing a round object and a box together. Make sure your shading lines follow the shape of the object to help describe the volume.Simple found objects (1-3 hours)
Look for natural object that have relatively simple, voluminous shapes and smooth surfaces. Examples: fruits (like tomatoes, eggplants, apples), nuts (like acorns, chestnuts),
a) Warm-up exercise: sketch the objects quickly, using simple 3D shapes only.
b) Start with a single object. Using the same progression as the boxes (accurate outline - shading - then details) draw your object. Make sure to include the surface of the table.
c) Arrange a few objects in a still life and draw them together, including the surface and background. If you're having trouble arranging your objects, read this article on composition.Complex found objects (2-4 hours)
Now, the world is your oyster. Look for natural objects that make you feel compelled to draw. Try to avoid objects lacking volume like leaves or flowers. Instead, aim for objects like seed pods, fruits & veggies, shells, bones, etc.
a) sketch your objects using only simple 3D shapes. Draw them in different positions, by themselves and with other objects. Add some shading. Fill a whole page
b) draw a single object. Start with simple shapes, build up volume, then add details at the end
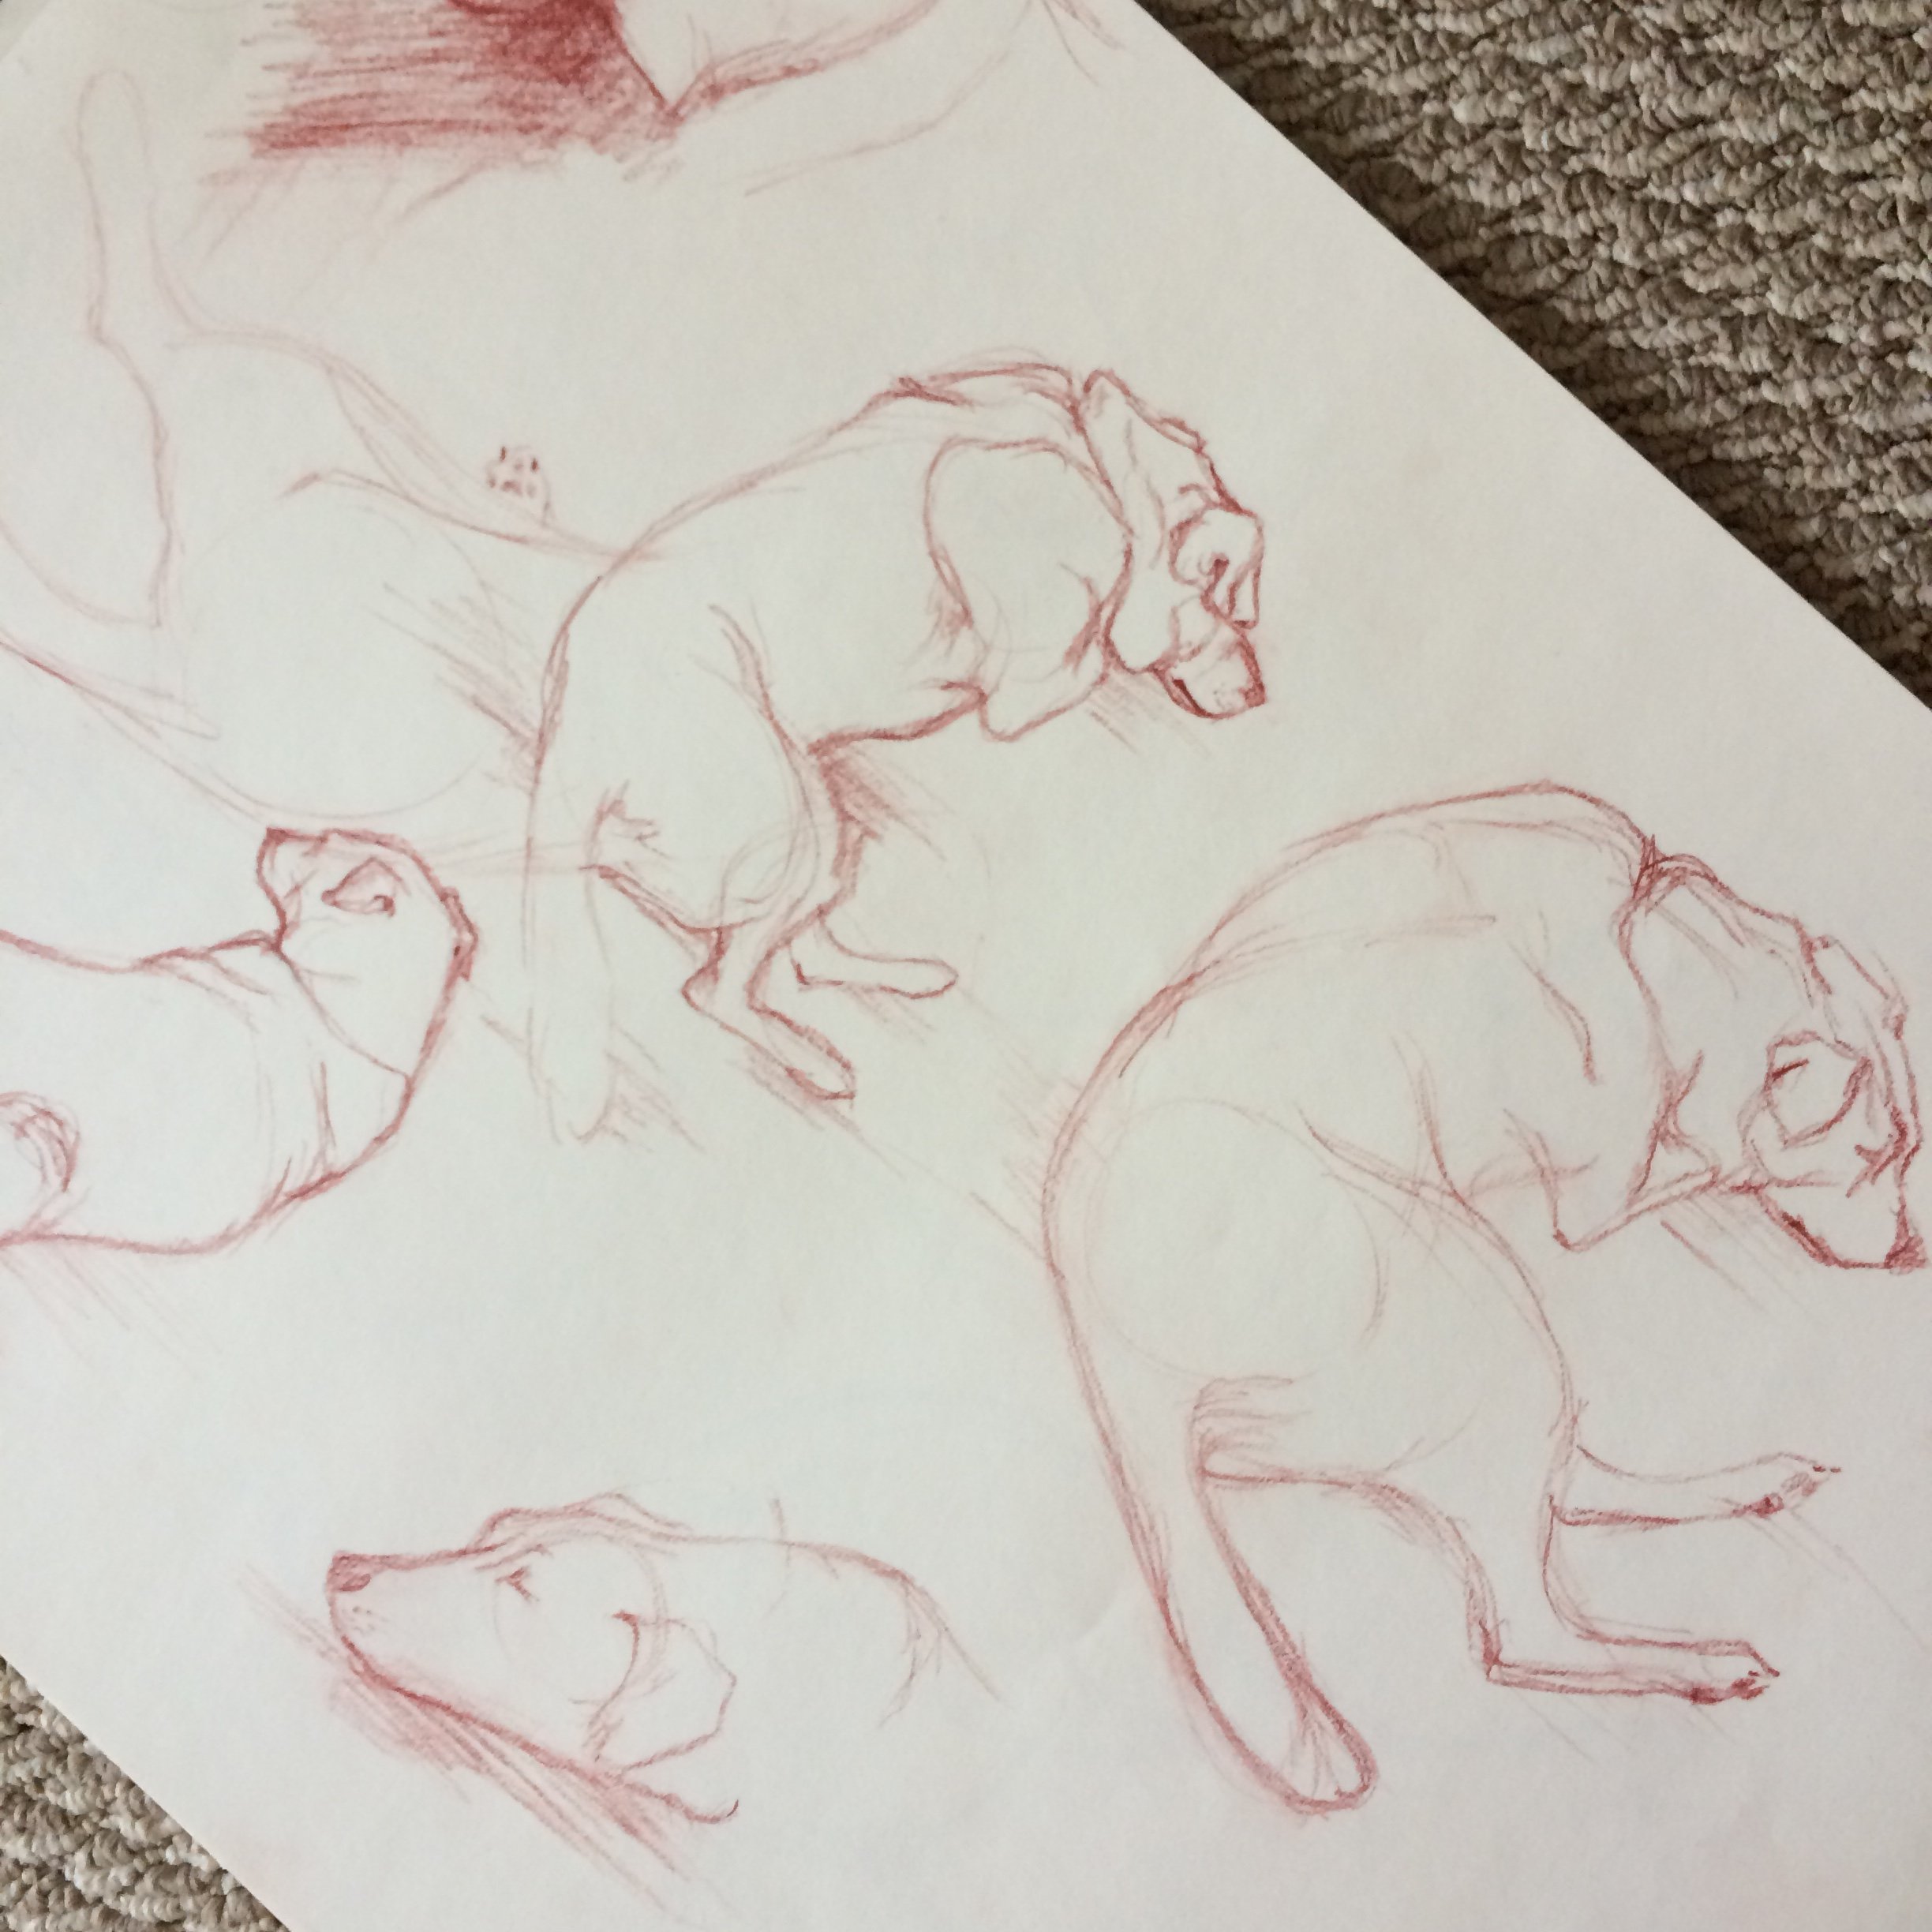
Portfolio project: arrange several complex objects together in a still life. Shade the entire drawing, including the surface and the background. Draw all cast shadows. Focus on accuracy.Life drawing. This assignment requires you to get out of the house. Go to your local zoo, museum, or even just a park.
a) warm up by quickly sketching subjects using simple shapes. Add some shading if you’d like, but don’t worry about finalizing them
b) choose a subject, preferably one you can spend some time with. Draw it in detail, including its surroundings. Don’t expect to get as much detail as you’re used to in the studio. Focus on accurate proportions, worry about the details last. If your subject moves, start a new drawing on the same page. Often, zoo animals will return to the same places and poses and you can add more to your drawings later.
c) continue adding drawings until you’ve filled a page. This is an exercise in drawing quickly while remaining accurate, and also composing a page on the fly. You probably won’t be happy with the first few pages, but keep practicing! A good sketchbook page is a great thing to include in your portfolio.
Examples:
Boxes:


Simple Found Objects:

Life Drawing: